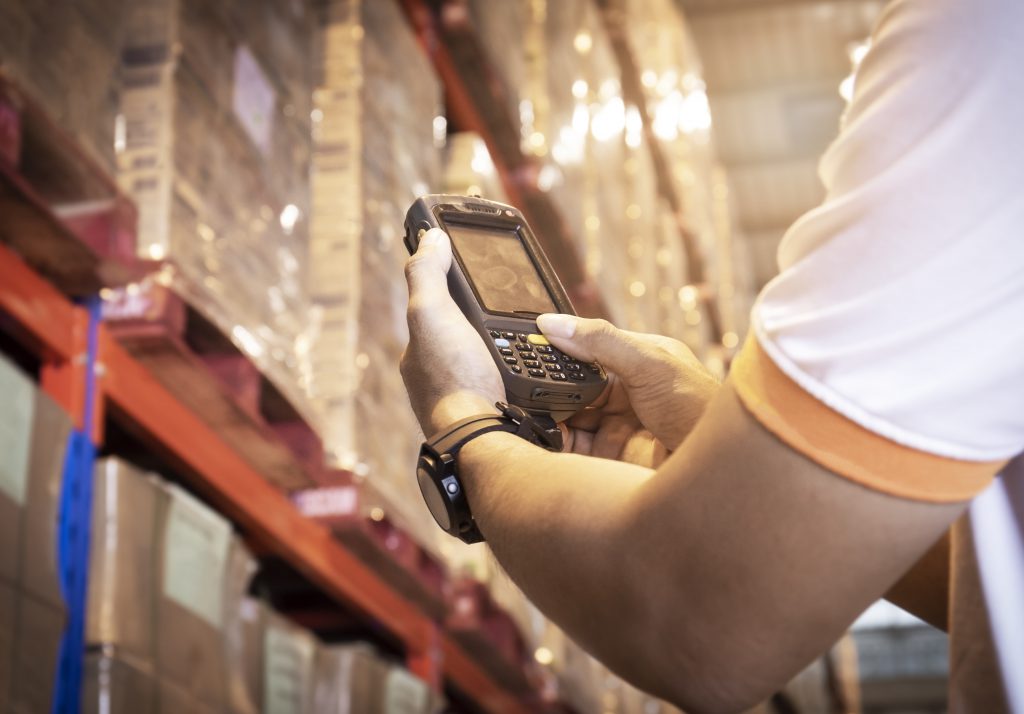
For logistics service providers, the scanner is an indispensable tool. Not only can you track warehouse movements, but you can also control order pick activities and control inbound and outbound.
With scanning device, the data is registered directly in your WMS, which gives you real-time insights into warehouse activities.
To improve support for custom processes, it helps to know how it works. Therefore, in this article, we explain how scanning screens are created to make sure that you have control over the screens and processes yourself.

Platform in App VS Telnet
Screen setup is done the same in Business Central, regardless of whether you’re using a Telnet connection or an app on your smartphone or tablet.
Structure of screens
If an error occurs on the screen, you can use an error message to investigate the error. However, there is no error message, but the screen displays different information than expected? Then it is important to know how the screen is built. In this way, you can dive into the settings to make sure that the screens are configured correctly.
In 3PL Dynamics, you define the screens that an employee sees on the screen. You can find it in the “Scan View List” section. When you go to these settings, you will see that defining a screen consists of four elements.
- General
- Lines
- Actions
- App properties
The screen structure determines the logic that runs and is defined by “General” and “Rows”. This also happens in this order. Actions will only be performed when the button is clicked. Application properties are for the application platform only. These determine what buttons you find in the gray bar at the bottom of the screen. Actions that are linked to these buttons are also defined in “Actions”.